Getting Started
Select a VPN
Go ahead and click here to login after registering your account
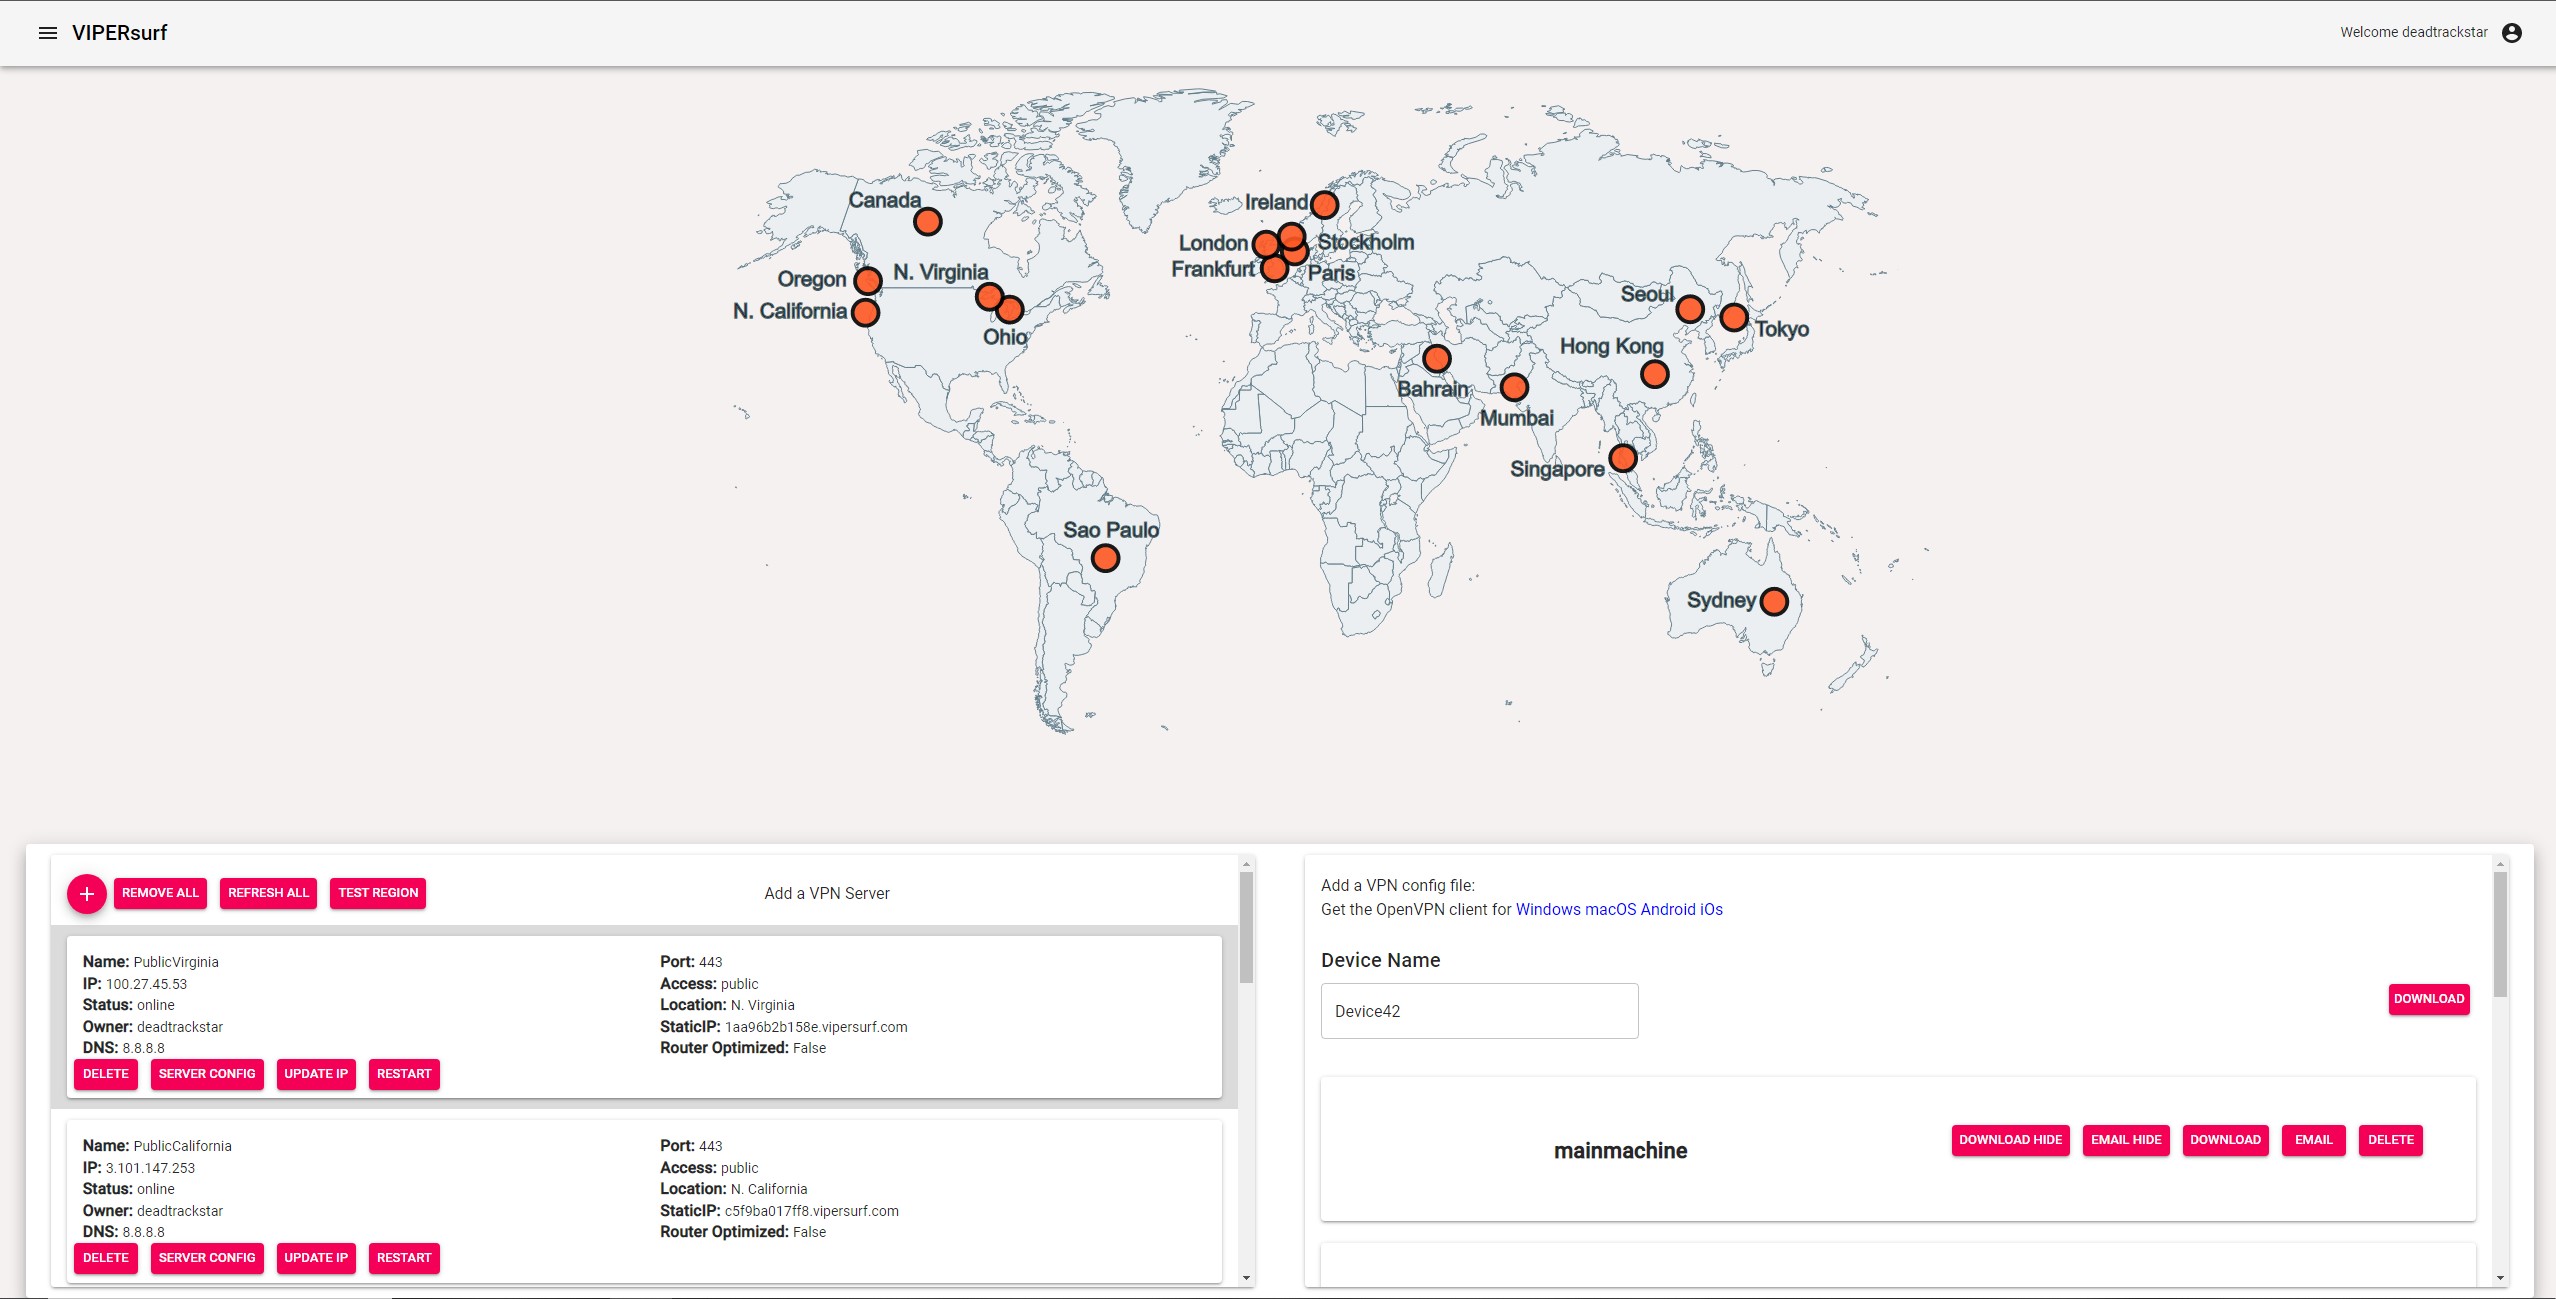
Available VPN servers are listed on the left.
Selecting one will show you where it’s located, it’s IP address, and whether or not it’s owned by VIPERsurf or another user.
Bronze tier users can only connect to publicly available servers while higher tiers’ can create their own server’s.
Once a server is selected, you are now ready to create your key.
*Security Tip: We Always Recommend Selecting A VIPERsurf Owned Server

Create a Key
Now that you have your VPN select, the option to add a device should now be available.
Go ahead and enter a name for the device you’ll be connecting with and hit ‘Save’
The file will take a minute to generate.
Once it’s ready, download the file to the device you wish to connect to the VPN!
iOS users: you must email the file to yourself since iOS does not let you directly download. When you receive the email, open the file with the OpenVPN app
*Security Tip: For security, you are only allowed one file per device. If multiple people use the same file to connect, they kick each other off!
Get Your VPN Client
VIPERsurf uses OpenVPN, and runs entirely on open source software to ensure trust and transparency.
That means we don’t provide our own VPN client, so you can trust we aren’t looking at your traffic.
Below is a link to instructions on setting up your device to connect to the VPN.
Check Connection
Make sure to check that your IP Address is now the same as the server you selected by visiting https://www.whatismyip.com/